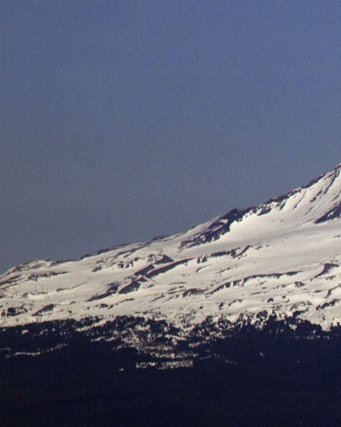
Mt. Shasta ripens by starlight. Photo - Jeff Curley
What are you waiting for? Wax that splitboard, pack the bags and get moving! It’s prime time to hit the road and blast off on a Cascade Volcano tour.
The Cascade Volcanic Arc is a group of 20 some volcanic peaks on the west coast of North America. Stretching from Southern B.C. to California, nearly every mountain in this unique range holds sick shred lines including several peaks with descents over 8000 ft. Long days and warm weather in May and June make spring the best season for ripping these massive lines in buttery soft yet safely consolidated snow conditions.
While most of the classic routes aren’t super technical, tagging the summit of any Cascade volcano is no gimme. Not only does summitting demand a solid effort, but often more importantly, success is determined by weather, climbing strategy, nutrition and gear. Choosing when to climb, where to climb and how to climb are the keys. As a guide for both volcano virgins and seasoned bc shredders, we’re stoked to share some secrets to a successful summit day tweaked for the Cascades. These are universal tricks so also wise info for whatever peak around the world that is on your radar this spring.
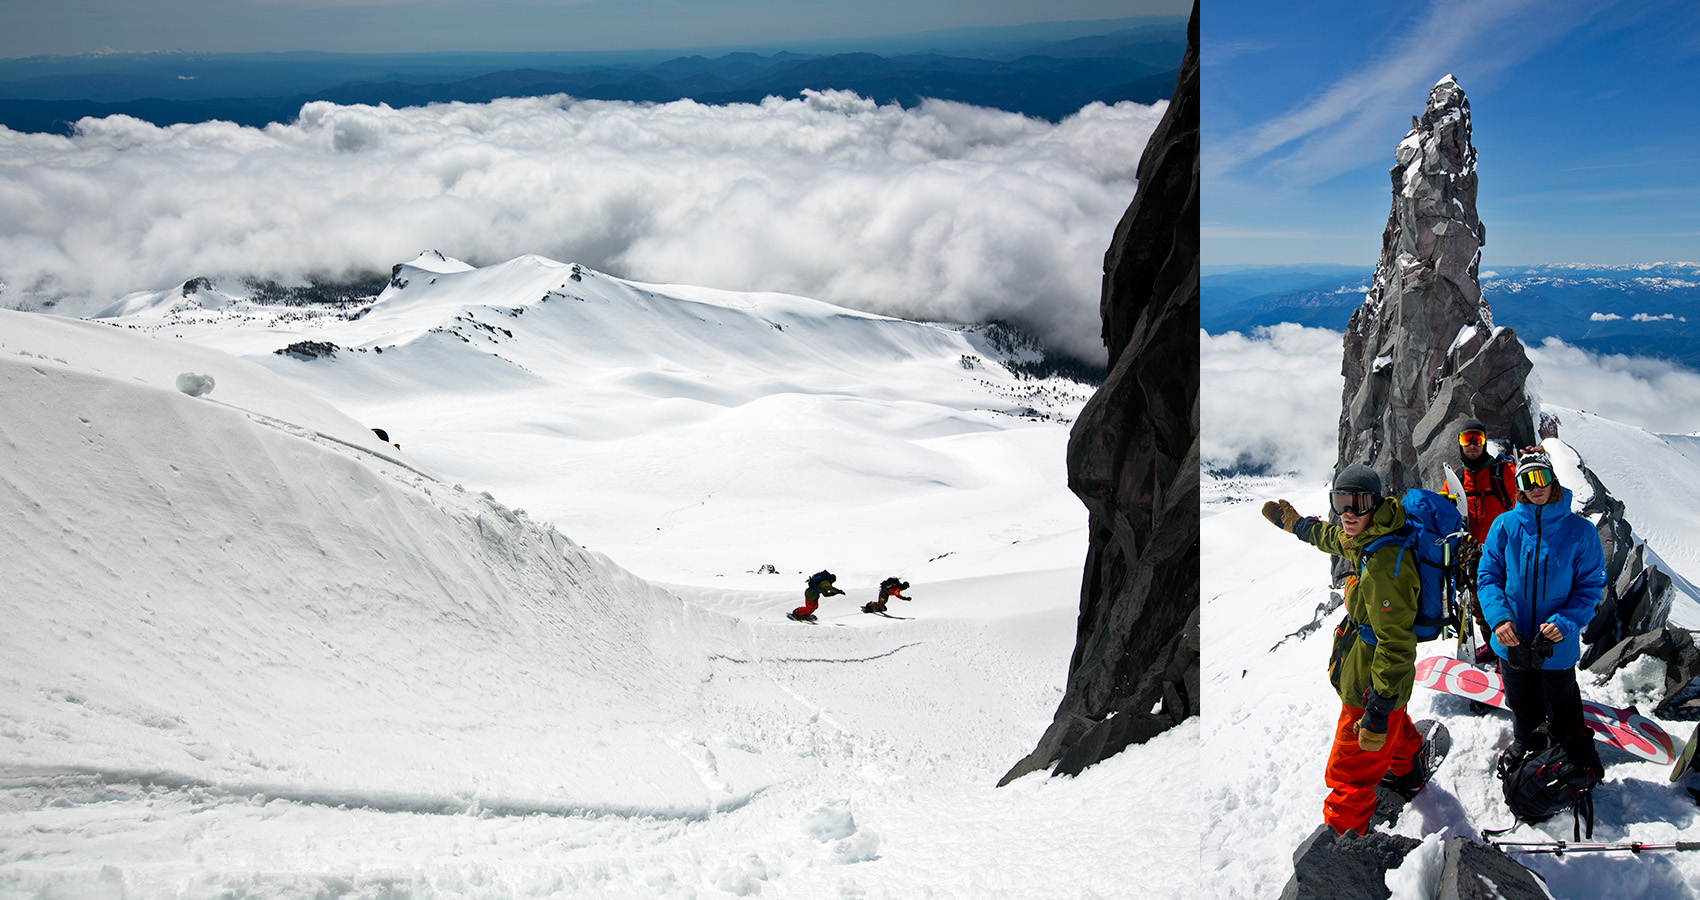
Jimmy Goodman, Taylor Carlton and Frank Knab gear up at their high point on a day where cloud buildup and high winds steered them away from the summit of Mt. Shasta. Photos - Jeff Curley.
Weather
It goes without saying that weather is the most important factor in choosing when to climb. Nothing will shut you down faster than gusty winds or low visibility. Choosing a day when neither winds nor buildup are forecasted is your first critical decision.
A perfect day for climbing is warm but not scorching, maybe a breath of wind, and no forecasted precip or buildup. Light winds aren’t necessarily a deal breaker but if you have your sights set on the summit remember that summit wind speeds can be much, much higher than mid-mountain. Even on a sunny cloudless day, high winds will delay snow softening, sometimes not letting the snow soften at all depending on ambient temps. As a general rule it’s pushing it to keep climbing into 25-30 mph winds. Anything stronger than that is downright dangerous as you risked getting blown over which could be a serious error if in exposed or icy terrain.
Afternoon cloud buildup is also a major concern in the Cascades. Starting early is the best way to avoid getting caught in an unexpected lightning storm at 14,000 ft. Typically if the clouds are going to build up you will start to see the first puffs within a couple hours after sun rise. If you’re on track to top out by 12 pm you might still safely summit depending on how fast the clouds close but be weary of pushing for the top if your looking at a 1-2 pm arrival. Clouds can swarm super fast and it’s not uncommon for the top half of a peak to be swallowed by thick fog in a matter of minutes some afternoons.
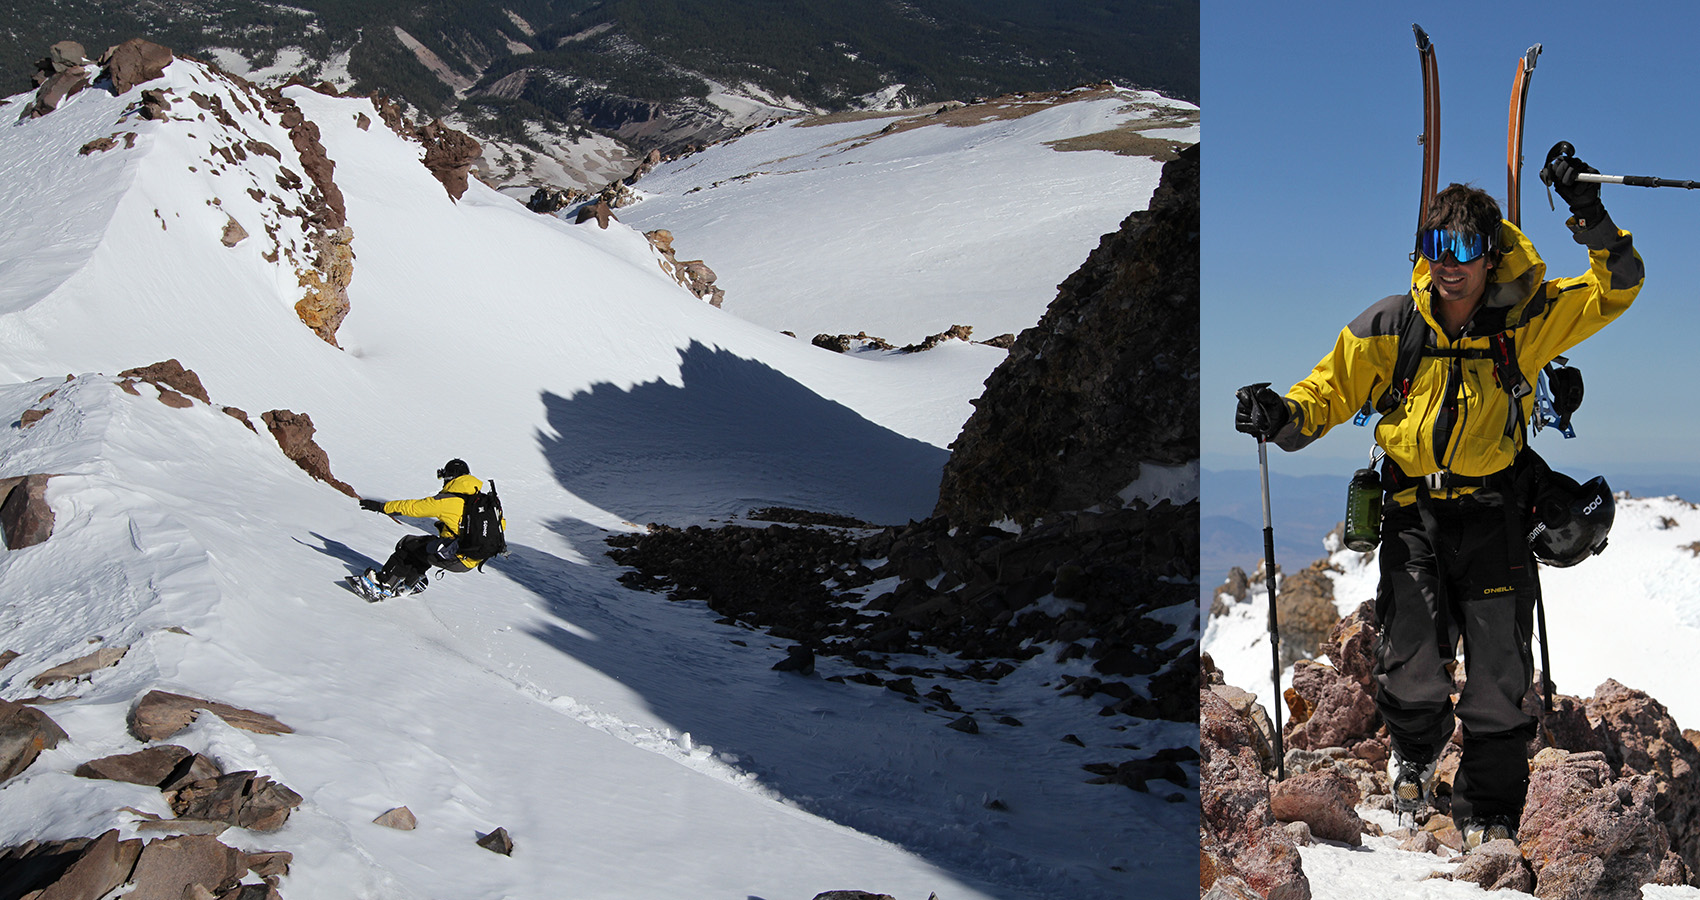
Rolling right off the summit of Mt. Shasta, Jeremy Jones drops in on the Hotlum Wintun route. Photos - Seth Lightcap
Climbing Strategy
While every different route or peak you attempt will demand a unique effort, there are some common climbing strategies that work well for all the routes and peaks. One question you might ask is ’How early should I start climbing?’ Here’s Jeremy Jones take on that:
"It’s important to start before the sun hits to cover some ground in the cold, dark hours, but one of the big mistakes I see people make is to start too early and end up dropping into a frozen line, " says Jeremy. "I like to start early and feel out the snow on the way up. If it’s softening quickly I speed up, if it’s slow to soften, I slow down. Ideal scenario is that you get to slow down a little bit on the way up and then nail the line just as it’s ripening up into perfect corn."
Another commonality between almost all the Cascade volcanoes is that the climbing routes go straight up from the trailhead and the descent routes drop straight back to the car.
"When you can ride right to the car you don’t have to save quite as much energy for the descent," says Jeremy Jones. "Knowing that should allow you to push yourself a little harder on the way up if you have to. Climb steady, don’t ever stop for too long and power on."
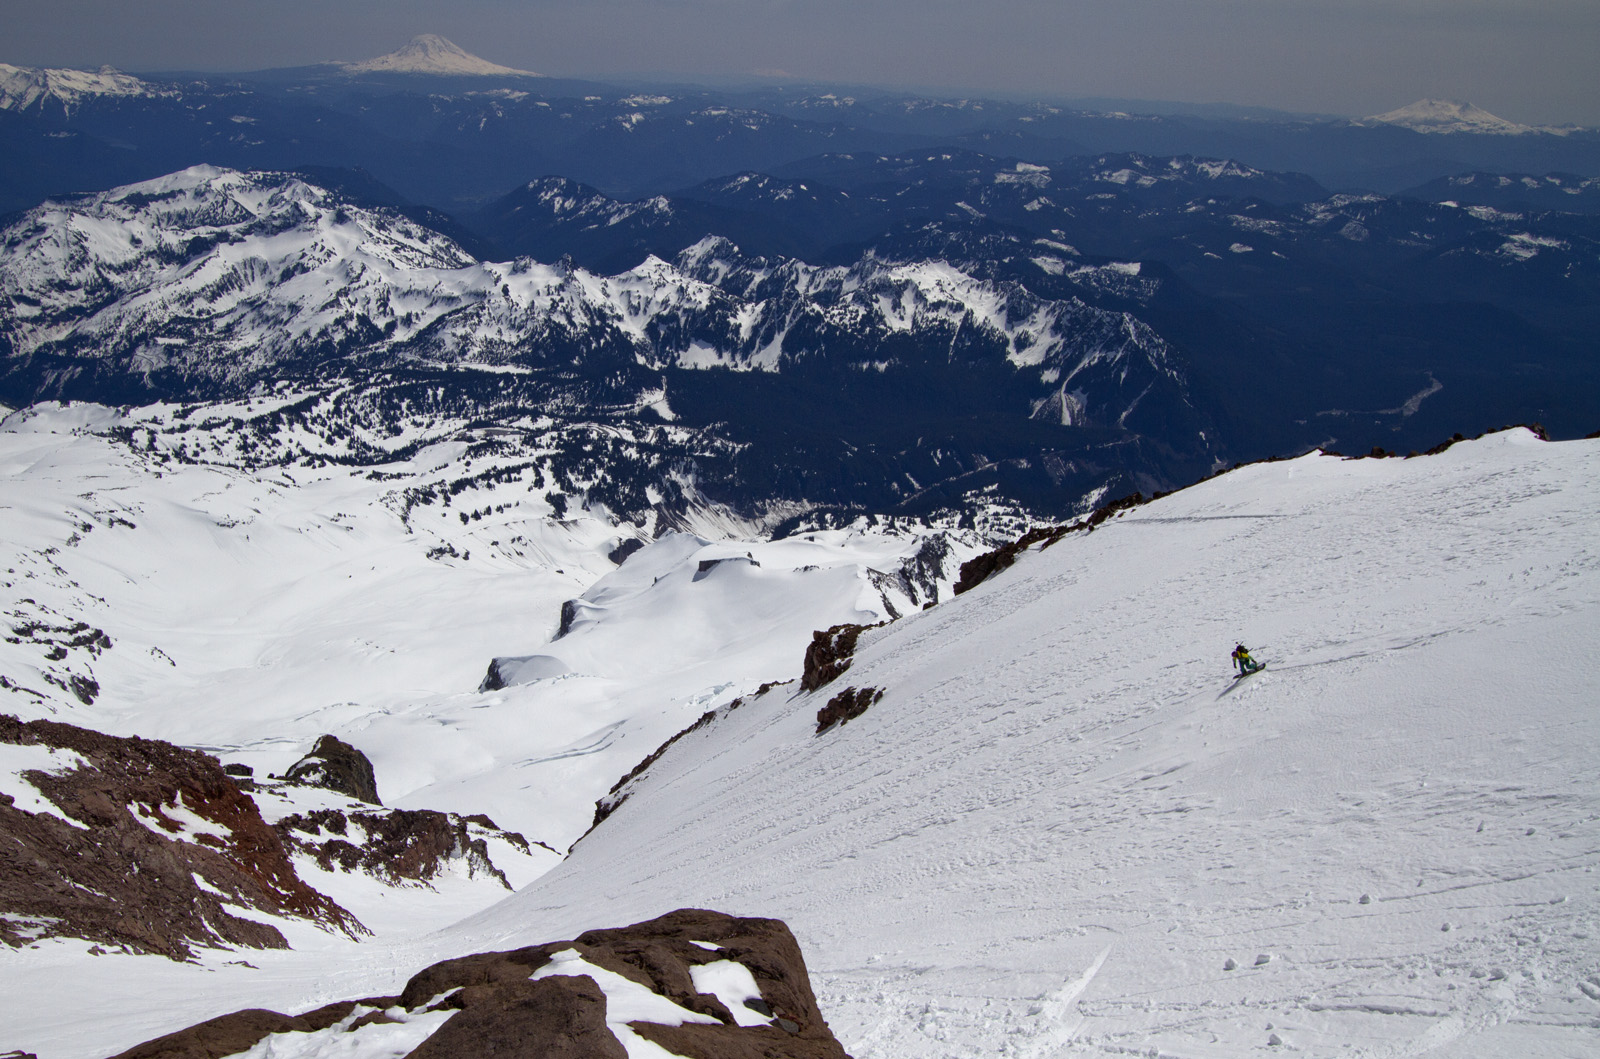
Allison Lightcap opens it up in the Fuhrer Finger couloir on Mt. Rainier. Photo - Seth Lightcap
Gear
Unless you are climbing a glaciated route, the volcano gear kit is similar to your standard couloir climbing kit - safety equipment, food, water, layers plus crampons and an ice axe or axe-pole. Serious sun protection is a must as well.
Depending on climbing conditions, carrying a solid board instead of a splitboard and bootpacking the entire mountain may be the fastest. That said, Jeremy likes how a splitboard allows him to mix up the movements.
"I usually start the day hiking with the split on back, then skin for a while in the lower zones, the switch back to booting for the summit headwall," says Jeremy. "I like switching off between booting and skinning because you can prolong your energy by changing muscle groups."
"If you get to the point where you are working really hard to stay on a skin track, it’s time to switch out into the crampons," says Jeremy. "Crampons will save you energy."
The SW flank of Mt.Rainier in May 2014. Photo - Seth Lightcap
Nutrition
Big days in the mountains demand conscientious attention towards staying hydrated and well fueled. Here’s Jeremy Jones nutrition strategy:
"I like to eat and drink my way up a mountain by fueling up at steady intervals," says Jeremy. "The longer the day, or the more physically demanding, the more I eat shot blocks and gels."
"I like to start the climb ’water heavy’," says Jeremy. "Hydration is key so you’d rather be able to chug a little more on the summit than not having enough. And if you really need to you can always dump it out. It’s also important to start drinking water the day before. You want to be well hydrated leaving the car."
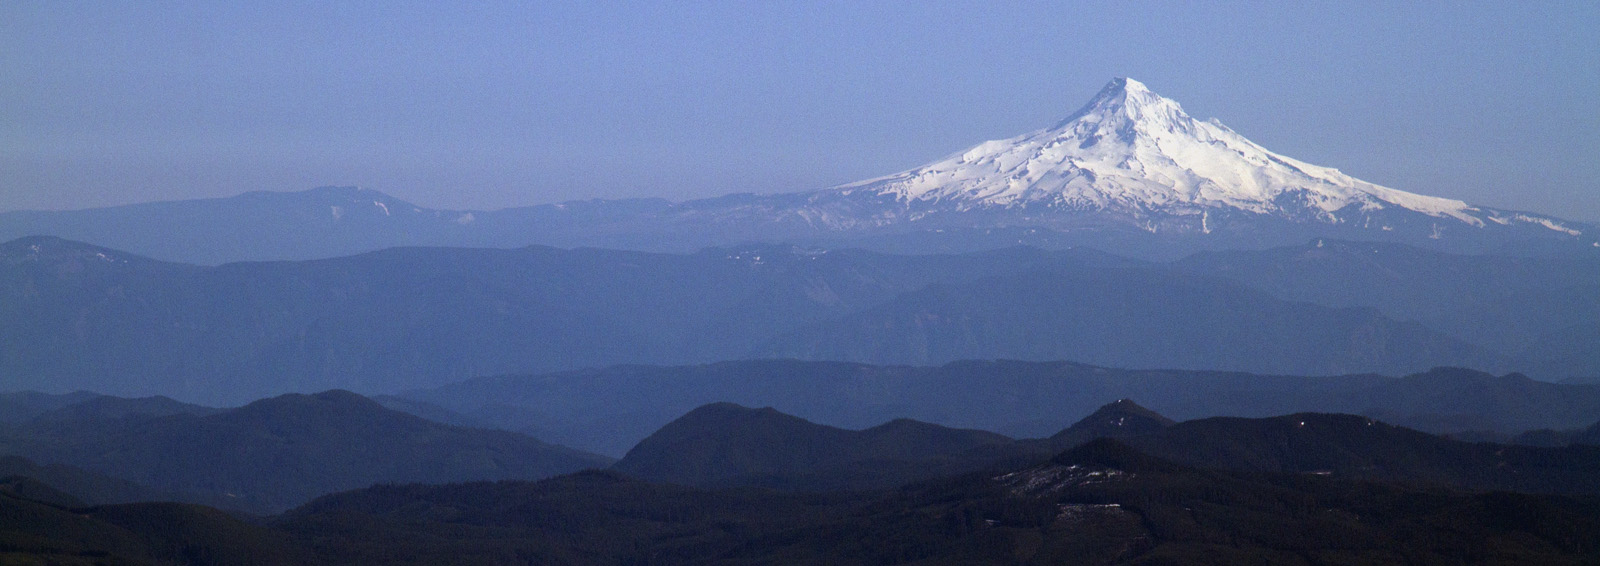
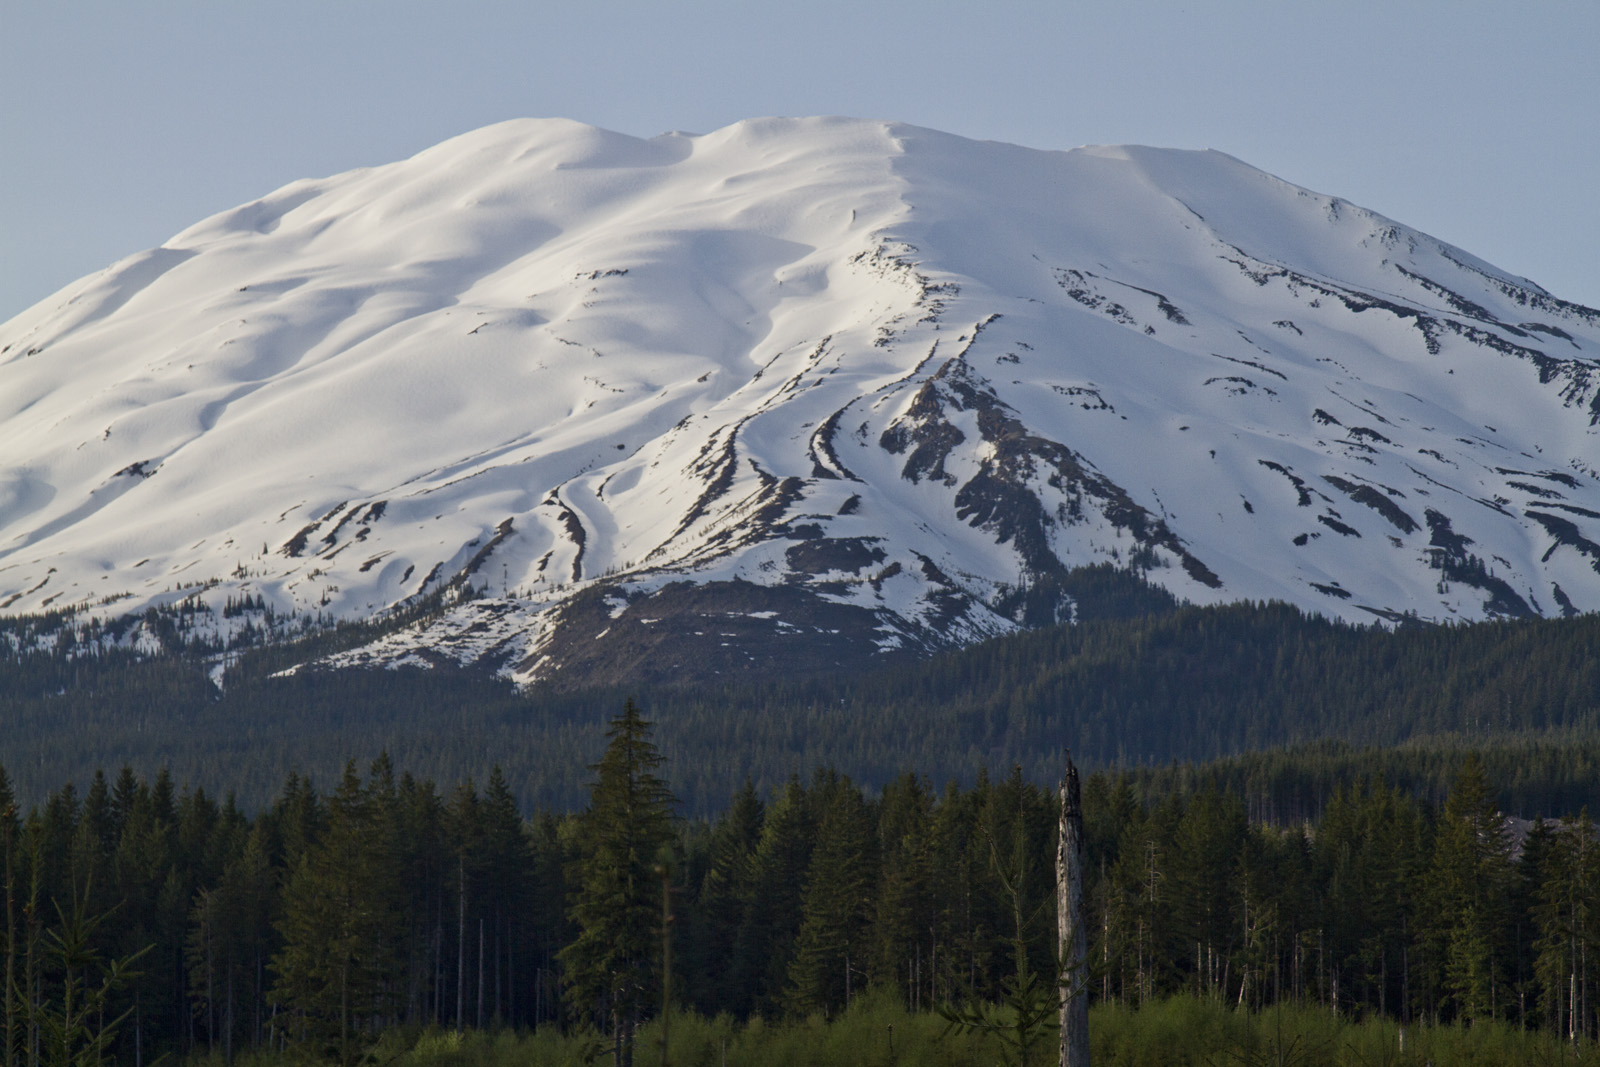
Mt. Hood looms on the horizon from the summit of Mt. Saint Helens. Photo - Seth Lightcap
Apr

Apr

Apr

Mar

Mar

Mar
